
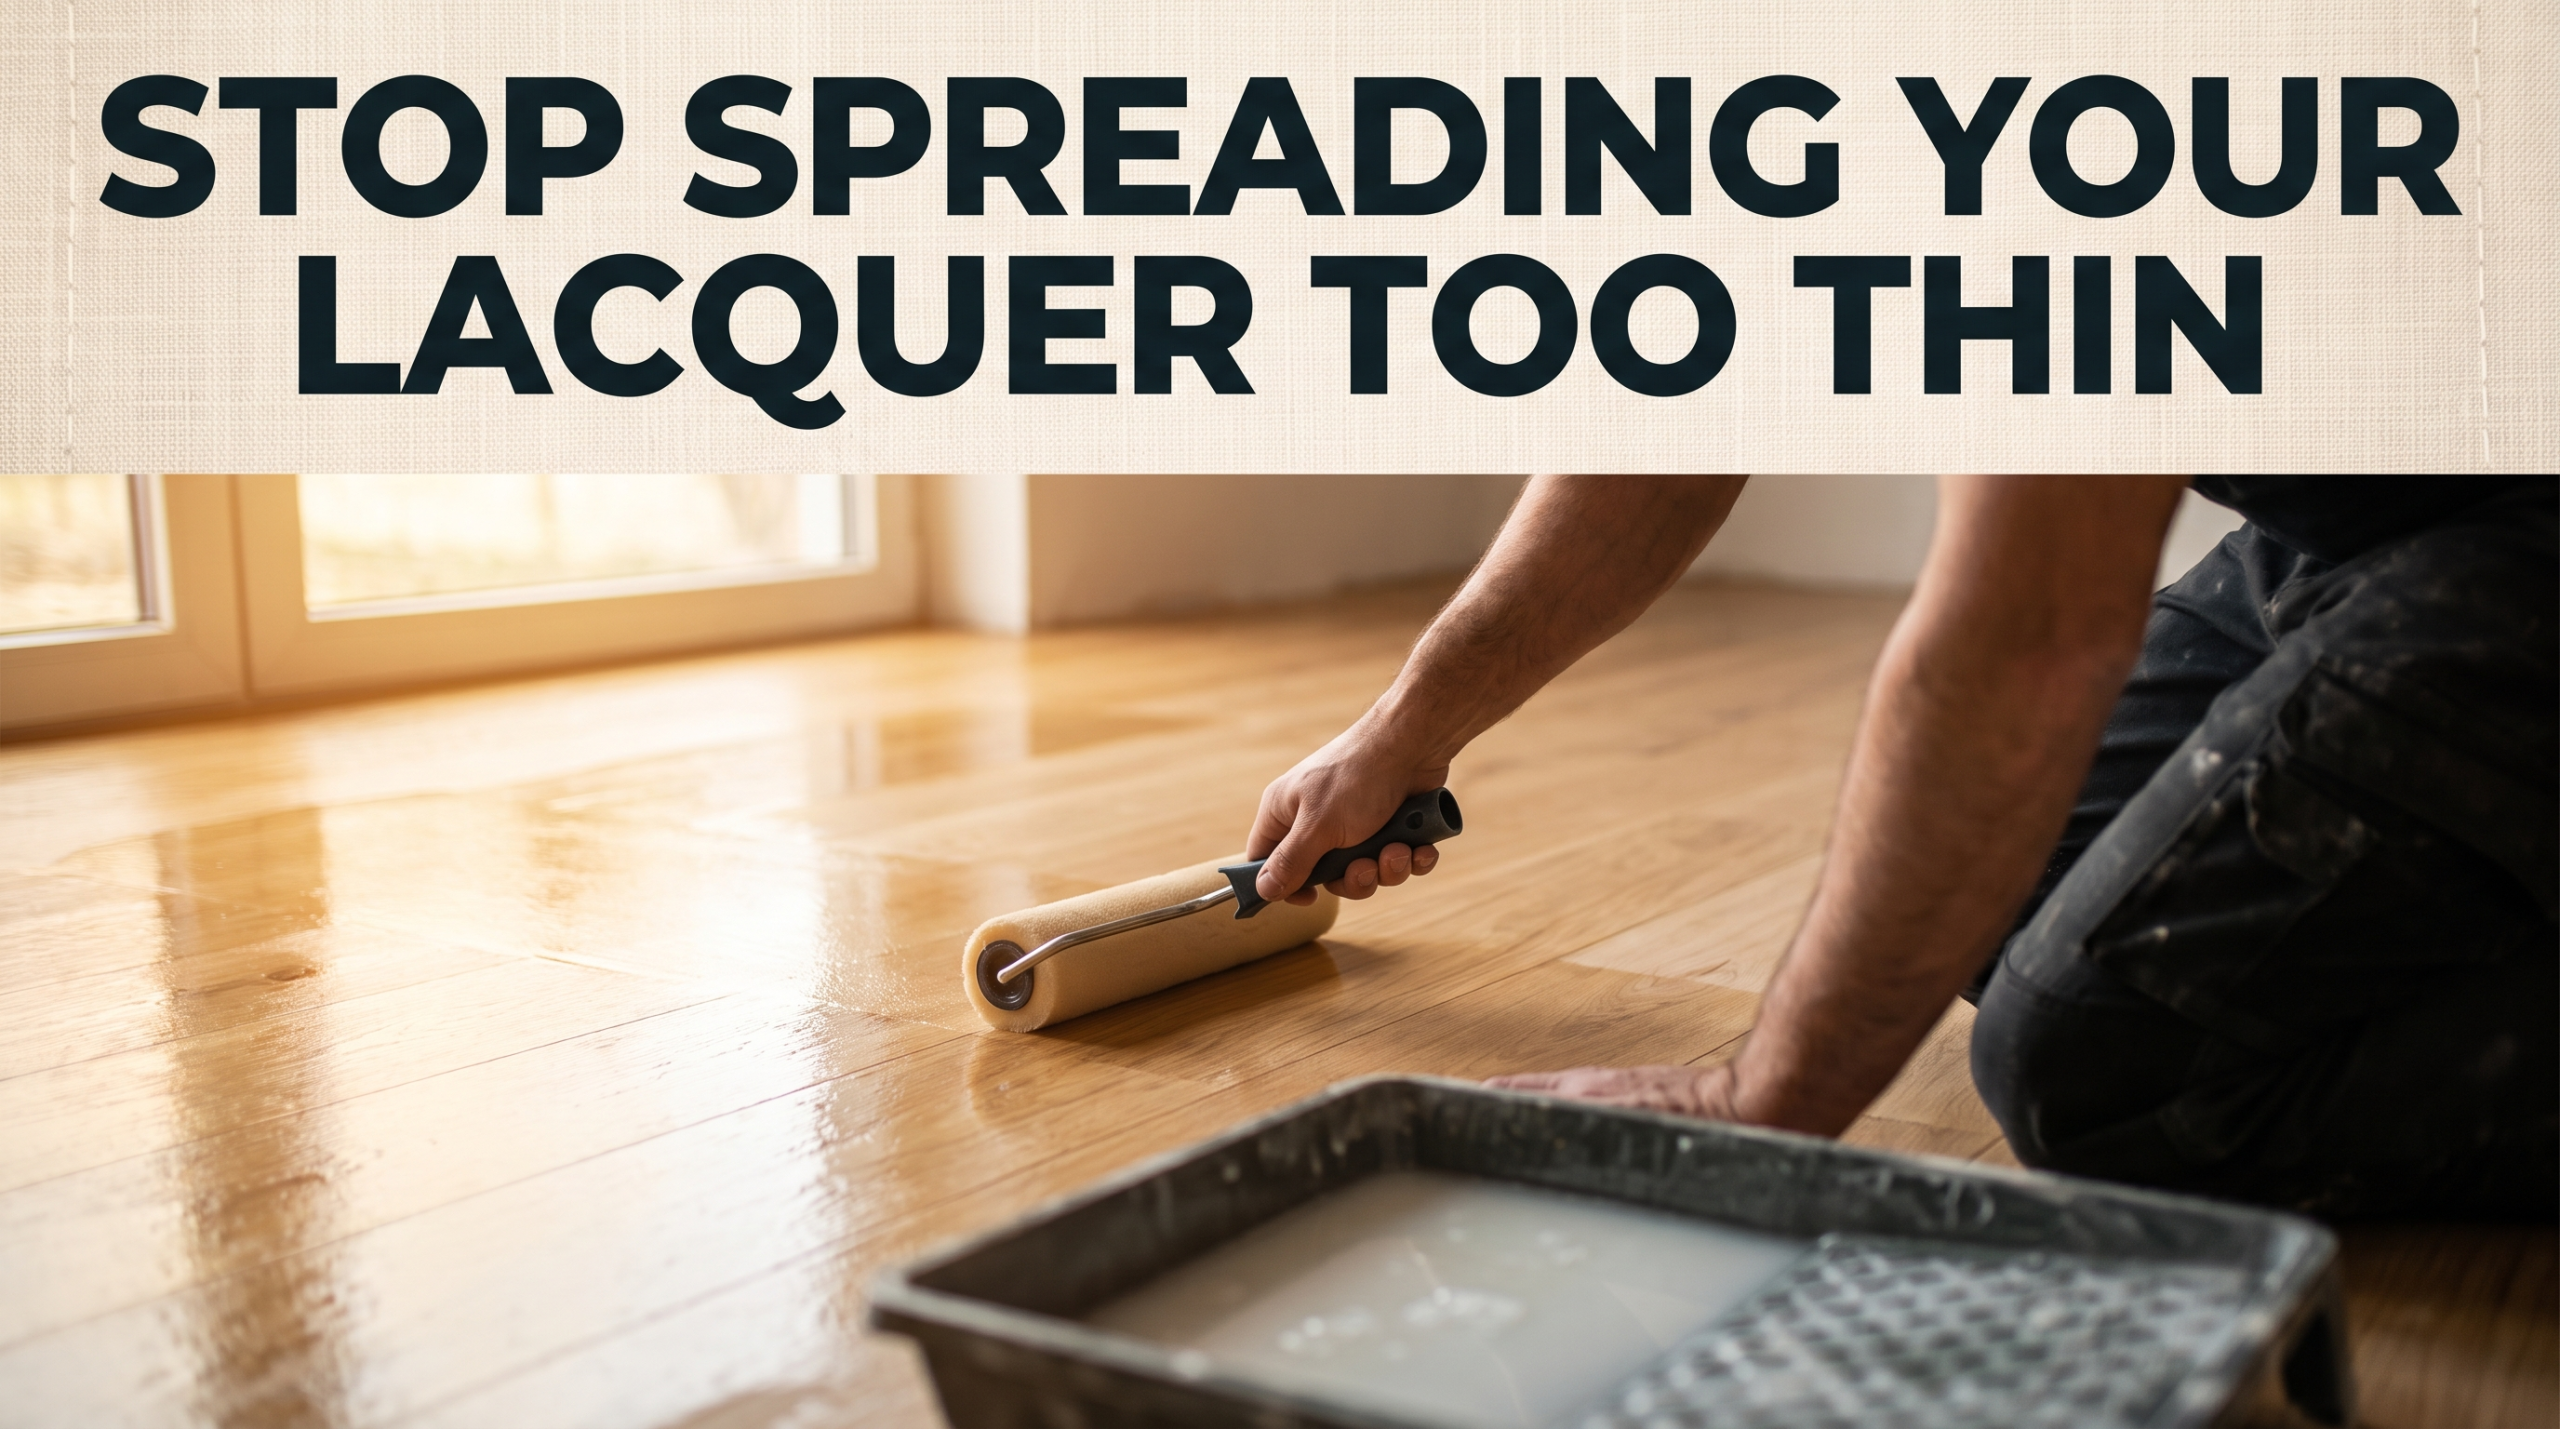
1. Introduction: The Floor Looked Perfect Until the Sun Came Through the Window
You’ve just finished the final coat. The floor looks flawless under the workshop lights, so you pack up, tell the client it’s ready, and head off to the next job. Three days later you get a call: “There are these faint lines running down the hallway — can you see them in this photo?” Under low, raking light — morning sun through a side window, or a lamp at floor level in the evening — a set of parallel streaks has appeared, running the exact width of your roller or applicator, spaced exactly where each pass overlapped the last.
Lap lines are one of the most common finish-quality complaints in wood floor refinishing, and they’re almost never a fault in the product. They’re a symptom of application rate — specifically, not enough finish going down per square metre for the coating to do what it’s designed to do. This article explains the mechanism behind lap lines, why “it looked even when I put it on” isn’t the same as “it was at the correct spread rate,” and how getting application rate right across your primer and lacquer coats is also what actually builds the protection you’re selling the client. We’ll use Arboritec’s system — First Coat, Seal Coat, Vibrant, Classic+, PolyRapid, and Avenue 2K — throughout, since it’s the only lacquer range HF Flooring Supplies stocks and every spread rate figure here comes straight from Arboritec’s own technical data sheets.
2. The Science of Flow, Levelling, and Wet Film Thickness
Every waterborne wood floor primer and lacquer is formulated to “flow and level” — meaning that once it’s on the floor, the liquid is meant to move slightly on its own, smoothing out roller stipple, brush marks, and the ridge where one pass overlaps the next, before it starts to dry. This isn’t automatic. It depends on there being enough liquid — enough wet film thickness — to actually flow.
Think of pouring golden syrup onto a warm pancake versus wiping a thin smear of it across with a knife. Pour a generous amount and it spreads out under its own weight, settling into a smooth, level layer with no ridges. Wipe on the thinnest possible smear and it stays exactly where the knife left it — every stroke mark, every overlap, stays visible because there simply isn’t enough volume of liquid to move and merge.
Wood floor lacquer behaves the same way. Arboritec’s own technical data sheets for Avenue 2K, Seal Coat, and Vibrant all use near-identical wording in the application instructions: apply a sufficient amount of product to ensure good levelling of roller or applicator marks. That’s not filler text — it’s the manufacturer telling you the spread rate figure on the same page is the minimum amount of wet film needed for the flow-and-level chemistry to actually work.
3. Why the Obvious Approach — Spreading It Further — Fails
A contractor who’s run short on a job, or who’s trying to make one tub stretch across a bigger area than it’s rated for, will often thin the application rather than order more product. It looks fine going on. Here’s why it doesn’t stay that way:
A thinner wet film runs out of time to flow before it starts to set. Levelling only happens in the window before the coating begins to flash off and gel. Spread the same litre of product over more square metres and the film is thinner everywhere — which means it reaches that gel point faster, with less time and less material to smooth the overlap zones. The ridge where two passes meet doesn’t get the chance to melt into a single, continuous film.
You lose the wet edge faster than you can work. Every waterborne finish needs the next pass to overlap into an edge that’s still wet, so the two merge into one film. Thin the application and that “still wet” window shrinks — by the time you’ve finished the next section and come back to lap in, the previous edge has already started to skin over. The result is a visible line, not a seam.
“Looks even” and “at spec” are two different things. A coat can look perfectly uniform to the eye while sitting well below the product’s stated spread rate — waterborne lacquers are designed to look glassy and wet immediately after application regardless of how thin the film actually is. The lap lines and the thin dry film underneath both only become obvious once the coating has fully dried and cured, by which point the client has already seen it.
4. The Real Cost: Protection Is Built Coat by Coat, at a Specified Rate
Lap lines are the visible symptom, but the more expensive problem is invisible: under-spreading a primer or lacquer doesn’t just risk lap lines, it also means less dry film ends up on the floor than the system was designed to deliver. A wood floor’s wear resistance, chemical resistance, and scratch resistance aren’t abstract properties of the product in the tub — they’re properties of the cured film thickness that’s actually sitting on the wood, built up coat by coat. Spread a product too thin and you can apply the “correct number of coats” and still hand the client a floor that’s under-protected for the traffic it’s about to see.
This is exactly why Arboritec publishes a spread rate — in litres per square metre or square feet per gallon — for every product in its system, and why that number, not a visual check, is the actual specification:
| Product | Stated coverage | Coats (typical system) |
|---|---|---|
| Arboritec First Coat (primer) | 10–12 m²/litre (50–60 m² per 5L tub) | 1 coat |
| Arboritec Seal Coat (primer) | 8–11 m²/litre (95–131 g/m² with a roller) | 1 coat |
| Arboritec Vibrant (primer) | Approx. 9.8–12.3 m²/litre (400–500 sq ft/gallon per Arboritec’s TDS) | 1 coat |
| Arboritec Classic+ (1K lacquer) | Approx. 9–11 m²/litre (45–55 m² per 5L tub) | 3 coats bare wood, or 2 coats over primer |
| Arboritec PolyRapid (1K lacquer) | 8–10 m²/litre | 2 coats over primer — see below |
| Arboritec Avenue 2K (2K lacquer) | Approx. 9.8–12.3 m²/litre (400–500 sq ft/gallon per Arboritec’s TDS) | 2–3 coats over primer |
Look closely at Classic+ against PolyRapid: PolyRapid has a noticeably lower spread rate — 8–10 m²/litre against Classic+’s 9–11 m²/litre — because it’s formulated with a higher viscosity (a 34/35-second rating, against a standard lacquer’s viscosity). That’s not a flaw or an inefficiency; it’s the entire point of the product. A higher-viscosity finish lays down a thicker wet film per coat at the same application effort, which is why Arboritec state that two coats of PolyRapid over primer deliver the same dry film build as three coats of Classic+. Application rate and viscosity are two sides of the same mechanism — they both control how much material actually ends up on the wood — which is exactly why you can’t compensate for spreading a product too thin by simply “adding another coat later” once the problem is already visible; you have to abrade back and correct it properly.
5. How to Get Application Rate Right on Every Job
- Check the TDS spread rate before you start, not while you’re applying. Work out the floor’s square metreage and calculate how many litres of primer and how many litres of lacquer you actually need at the manufacturer’s stated rate — don’t estimate by eye once you’re on your knees with a roller.
- Order enough product to hit the correct rate across the whole floor, with a margin. Running out mid-room and thinning the last few square metres to make a container stretch is the single most common cause of lap lines turning up in one specific area of an otherwise good job.
- Apply with the tool the TDS specifies. Arboritec recommends a 10mm roller for Avenue 2K, Classic+, and PolyRapid, and a lightweight T-bar applicator for the primers — the applicator affects how consistently the film thickness comes off in your hands, not just how it looks.
- Work in sections sized to your own speed, and always lap into a wet edge. Never come back to an edge that’s already started to flash off — if in doubt, work smaller sections rather than larger ones so you can always return to a genuinely wet line.
- Choose the right product for the coat count you need, rather than improvising with a standard one. If the job calls for fewer coats to save time on site, specify PolyRapid rather than thinning Classic+ or skipping a coat — the higher-build formulation is designed to deliver the same protection in fewer passes.
- Let each coat flow out undisturbed. Don’t go back over an area once it’s started to set to “fix” a patch you’re not happy with — that re-introduces exactly the ridge and lap-line problem the correct application rate was there to prevent. If a section genuinely needs correcting, let it dry fully, abrade, and recoat.
6. Conclusion
Lap lines aren’t a product defect and they’re not bad luck — they’re what happens when a waterborne primer or lacquer is spread thinner than the wet film thickness it needs to flow, level, and merge overlapping passes before it starts to set. The same under-application that causes lap lines is also quietly under-building the dry film that’s meant to protect the floor, coat by coat, at the rate the manufacturer tested and specified. Getting the application rate right — checking the TDS coverage figure, ordering enough product, and keeping a genuinely wet edge as you work — is what separates a finish that looks good in the workshop light from one that still looks good three years and a few thousand footsteps later.
Click here to shop the full Arboritec primer and lacquer range from HF Flooring Supplies and get the coverage rate right on your next job, first time.
Frequently Asked Questions — Wood Floor Lacquer Application Rate and Lap Lines
Q: What actually causes lap lines in a wood floor lacquer finish? A: Lap lines form where two overlapping passes of primer or lacquer meet but don’t merge into a single continuous film before the coating starts to set. This almost always happens because the product was applied at a lower rate — a thinner wet film — than the manufacturer’s stated coverage figure, giving the finish less material and less time to flow together at the overlap.
Q: How do I work out how much primer or lacquer I need for a floor? A: Measure the floor’s total square metreage, then divide by the product’s stated coverage rate from its technical data sheet — for example, Arboritec First Coat covers 10–12 m² per litre, so a 60 m² floor needs roughly 5–6 litres for one coat. Always round up rather than down, and calculate per coat if you’re applying more than one layer.
Q: Can lap lines be fixed once the lacquer has fully dried? A: Yes, but not by adding another coat on top without preparation. The affected area needs to be lightly abraded to key the surface and remove the visible ridge, then recoated at the correct application rate so the new coat can flow out properly. Spot-recoating without abrading usually just adds a second layer of the same problem.
Q: Does applying more product than specified give a glossier or better finish? A: No. Over-spreading past the stated rate risks pooling, sagging on any vertical surfaces like skirting, and a longer drying time, without improving durability — the manufacturer’s coverage figure is the tested rate for correct flow, levelling, and cure, not a minimum to be exceeded for a better result.
Q: What’s the practical difference between Classic+ and PolyRapid’s coverage rates? A: Classic+ covers approximately 9–11 m² per litre and is typically applied in three coats on bare wood (or two over a primer), while PolyRapid’s higher viscosity gives it a lower coverage rate of 8–10 m² per litre — meaning each coat lays down more material, so two coats of PolyRapid over primer deliver the same dry film build as three coats of Classic+.
Q: Why do temperature and humidity affect lap lines? A: Both primers and lacquers need a set window of open time to flow and level before they start to gel, and that window shortens in high temperatures or low humidity. Arboritec’s application instructions specify a 13°C–25°C range with 40–60% relative humidity, and recommend adding 2% Arboritec Extender in hot, dry conditions specifically to keep the open time long enough to avoid lap lines.
Q: Can I thin a waterborne lacquer with water to make it go further? A: No — Arboritec’s application instructions for Classic+, PolyRapid, and Avenue 2K all explicitly state not to dilute the finish. Diluting reduces the solids content of the film below what the product was formulated and tested at, undermining both the flow-and-level behaviour and the final dry film build regardless of how many coats you apply afterwards.
